
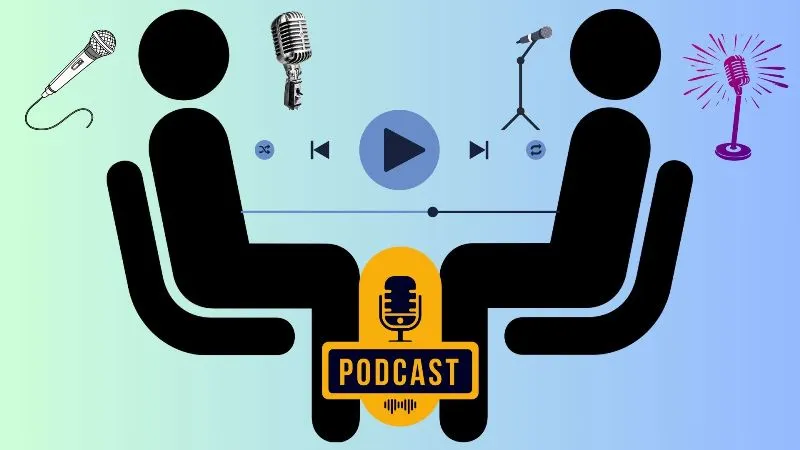
If you're planning a podcast interview with a guest, co-host, or even a full panel, one mic just won't cut it. Each person needs their own microphone to ensure clear, balanced audio that doesn't sound like it's coming from across the room.
But here's where most new podcasters get stuck:
“How do I actually connect multiple microphones to one computer or recording setup?”
Whether you're working with USB mics, XLR gear, or recording remotely, this guide walks you through every practical method, step-by-step. We’ll also cover gear recommendations, software tools, and the easiest way to record interviews online using browser-based platforms like Yostream.
Let’s dive in and make your podcast sound like a pro production. No studio required.
Quick Summary
| Setup Type | Best For | What You’ll Need |
|---|---|---|
| Plug & Play (Basic USB) | Beginners with 2 guests | Audio interface or USB splitter, software routing |
| Audio Interface (XLR) | Semi-pro/pro interviews | Multi-input interface + XLR mics |
| Mixer Setup | Professional multi-mic studios | Analog/digital mixer + XLR mics |
| Browser-based (Yostream) | Remote interviews (no hardware) | Just browser, mic, and guests |
Option 1: Using USB Mics (2+ Microphones)
Problem: Your computer can usually only recognize one USB mic at a time.
Solution: Use virtual audio routing software or multi-input interfaces.
What You Need:
- 2+ USB microphones (like Blue Yeti, Samson Q2U)
- Audio routing software:
- Mac: Loopback by Rogue Amoeba
- Windows: Voicemeeter Banana
Steps:
- Plug in each USB mic
- Use Loopback or Voicemeeter to create a virtual input that combines them
- Set your recording software to record from the virtual device
- Monitor levels and isolate channels if needed
Option 2: Using an Audio Interface (Best for XLR Mics)
If you're using XLR mics (which you should for pro audio), you'll need an audio interface that supports multiple inputs.
Recommended Interfaces:
| Interface | Mic Inputs | Great For |
|---|---|---|
| Focusrite Scarlett 2i2 | 2 | 1-on-1 interviews |
| Zoom H6 / H8 | 4–6 | In-person interviews/panels |
| PreSonus AudioBox | 2–4 | Co-hosts & solo setups |
Steps:
- Connect each mic to the interface using XLR cables
- Adjust gain for each input
- Choose an interface as your input device in your DAW or live streaming tool
- Record each mic on a separate track for better post-production
Option 3: Using a Mixer (Analog or Digital)
Perfect for live interviews, panels, or podcasting with sound effects.
What You Need:
- Analog or digital mixer with 4+ mic channels (e.g., Rodecaster Pro, Behringer Xenyx Q802)
- XLR mics and headphones
Steps:
- Connect each mic to a dedicated channel
- Adjust EQ, volume, and panning in real-time
- Route mixer output to audio interface or recorder
- Monitor in headphones to avoid feedback
Option 4: Use a Browser-Based Platform (Remote Guests)
If your interview is remote, the easiest method is to use a platform like Yostream, which is ideal for long-distance interviews, co-hosts in other cities, or hybrid setups.
Why Use Yostream:
- No downloads or tech setup for guests
- Everyone uses their own mic, and it's recorded separately
- Podcast + video streaming options
- Built-in multitrack audio recording
- Multistream live if needed
Steps:
- Send your guest a browser link
- Everyone joins the session using their mic and webcam
- Yostream captures all tracks (you get isolated audio too)
- Export, edit, and publish
Pro Tips for Smooth Multi-Mic Podcasting
- Always wear headphones to prevent echo or bleed
- Use a pop filter and mic stand for better sound
- Level match your mics so voices don’t clip or sound too soft
- Record separate tracks for each mic if possible (easier editing)
- Backup recordings locally or to the cloud