
Build a home streaming studio on a budget, and you can still look professional without spending thousands. Many new streamers think they need top-tier cameras, studio lights, and expensive software to get started. The truth is, you can set up a solid studio at home with smart gear choices, a simple layout, and tools like Yostream that cut costs by removing the need for heavy downloads or complicated hardware.
Let’s walk through what you actually need, how much it costs, and where you can save money.
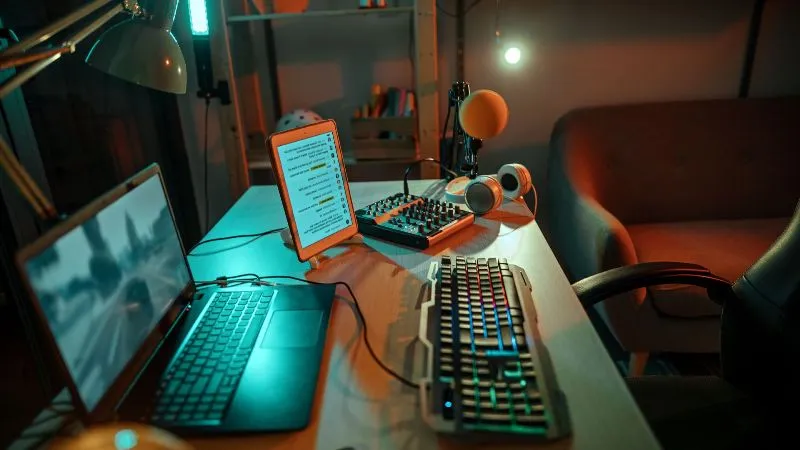
Step 1 – Choose the Right Streaming Space
The space you pick matters. A quiet room with minimal echo makes your audio much clearer. You don’t need soundproof panels right away. Bookshelves, rugs, and curtains help absorb sound naturally.
👉 If you have a window, try to face it for free natural lighting. That saves you from buying lights at the start.
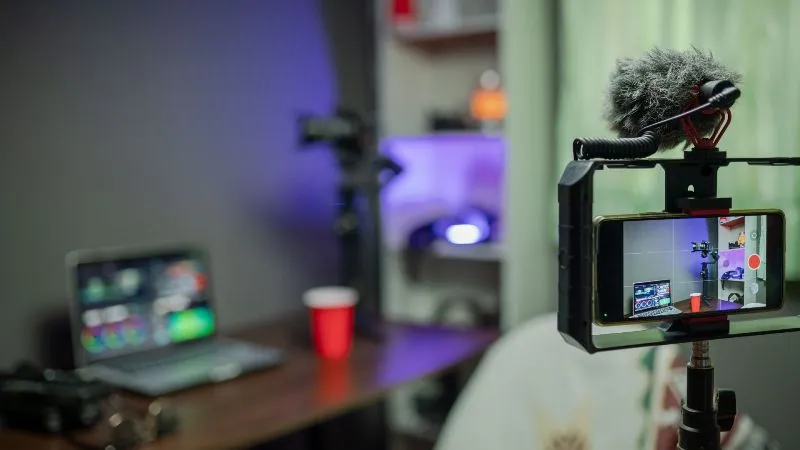
Step 2 – Budget-Friendly Equipment
Camera
- A 1080p webcam like the Logitech C920 offers sharp video at a low cost.
- If you own a modern smartphone, you can repurpose it as a webcam with apps like DroidCam.
Microphone
- A USB microphone is affordable and easy to plug into your computer.
- The FIFINE K669B is under $50 and delivers clear sound.
Lighting
- Start with a ring light ($20–$30).
- Add a desk lamp with a soft white bulb if needed.
Extras
- A pop filter for your mic (under $10) reduces harsh sounds.
- A tripod or simple stand stabilizes your camera or phone.

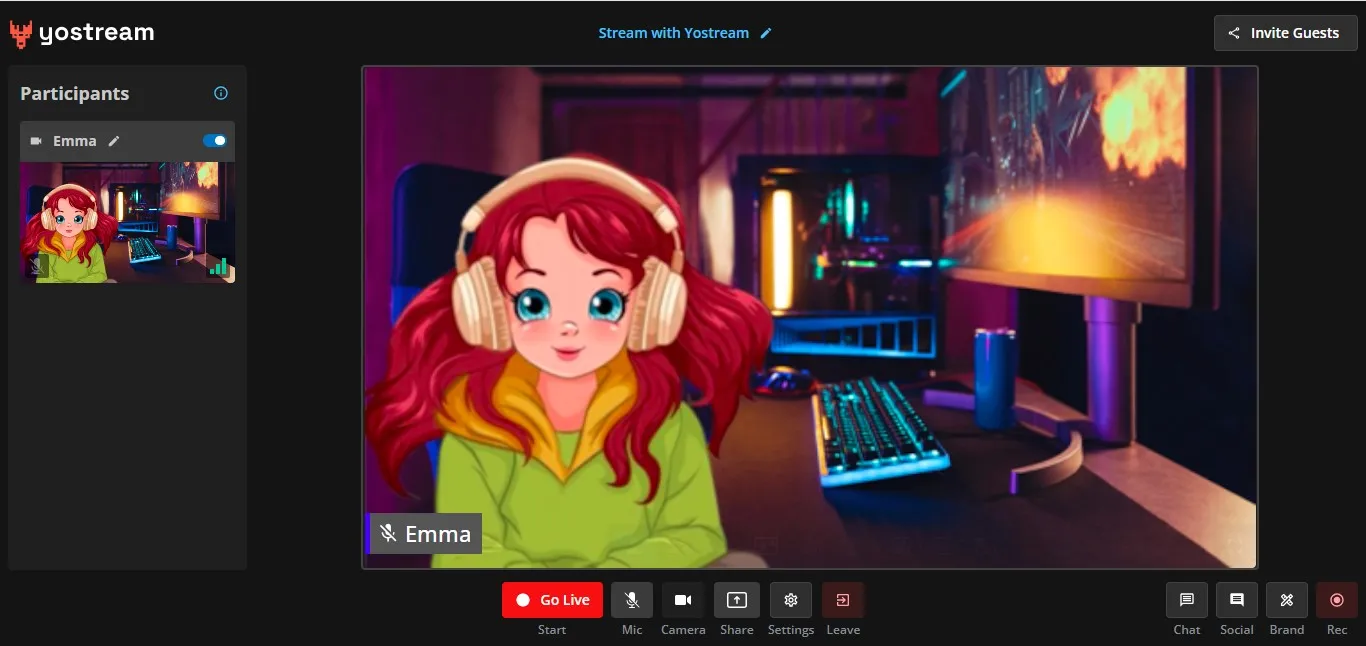
Step 3 – Software Setup Without Breaking the Bank
- OBS Studio is free and works on Windows, macOS, and Linux.
- Yostream helps you stream directly from your browser without downloads. This saves money on extra storage, keeps your PC from slowing down, and lets you multistream to Twitch, YouTube, and TikTok all at once.
👉 Starting with browser-based tools like Yostream keeps your upfront cost almost zero.
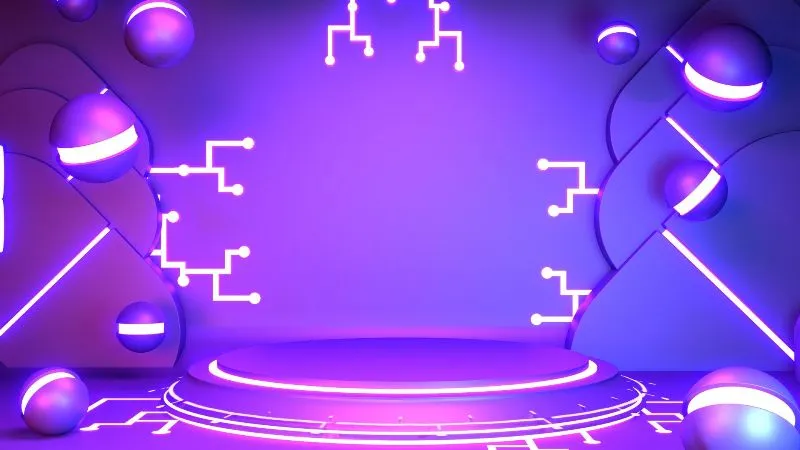
Step 4 – Background Setup on a Budget
You don’t need a fancy studio backdrop. Try these:
- A solid-colored wall or curtain appears clean on camera.
- Posters or LED strips (under $20) add personality.
- Free virtual backgrounds work if your lighting is decent.
Step 5 – Internet Connection
Streaming requires a stable internet. A wired Ethernet connection is more reliable than Wi-Fi. If that’s not possible, place your router closer or invest in a $15 Ethernet adapter.
According to the Federal Communications Commission (FCC), HD video streaming requires at least 5 Mbps upload speed, while higher resolutions may need more.
Step 6 – Studio Layout Tips
- Place your camera at eye level for a natural angle.
- Keep lights at 45 degrees to avoid shadows.
- Test audio levels before going live.
Simple adjustments make you look polished without extra spending.
Estimated Budget Breakdown
- Webcam: $60 (or free if using phone)
- USB Microphone: $50
- Ring Light: $25
- Pop Filter & Stand: $15
- Background setup: $20
👉 Total: Around $150 — enough to start streaming at a professional level.
Why Yostream Helps Budget Streamers
Building a home streaming studio on a budget works best when your tools are lightweight. With Yostream you get:
- Browser-based streaming with no downloads.
- Multistreaming to TikTok, YouTube, Twitch, and Facebook.
- Recording and podcast features built in.
That means you save money on plugins, upgrades, and extra apps.
Check out Yostream's pricing plan and see how easy it is to stream smarter without expensive gear.