You hit "Go Live," and then it happens. Dead audio. A mic that sounds like a tin can. Your stream title still reads "Untitled Broadcast." One hundred people joined in the first two minutes, and half of them just left.
A solid pre-stream checklist is not optional, it is the single biggest difference between a stream people stay for and one they abandon in 45 seconds. Research from StreamElements and Rainmaker.gg consistently shows that viewer retention in the first three minutes defines whether a live stream grows or dies on the algorithm. Most streaming guides stop at "check your internet." This one does not.
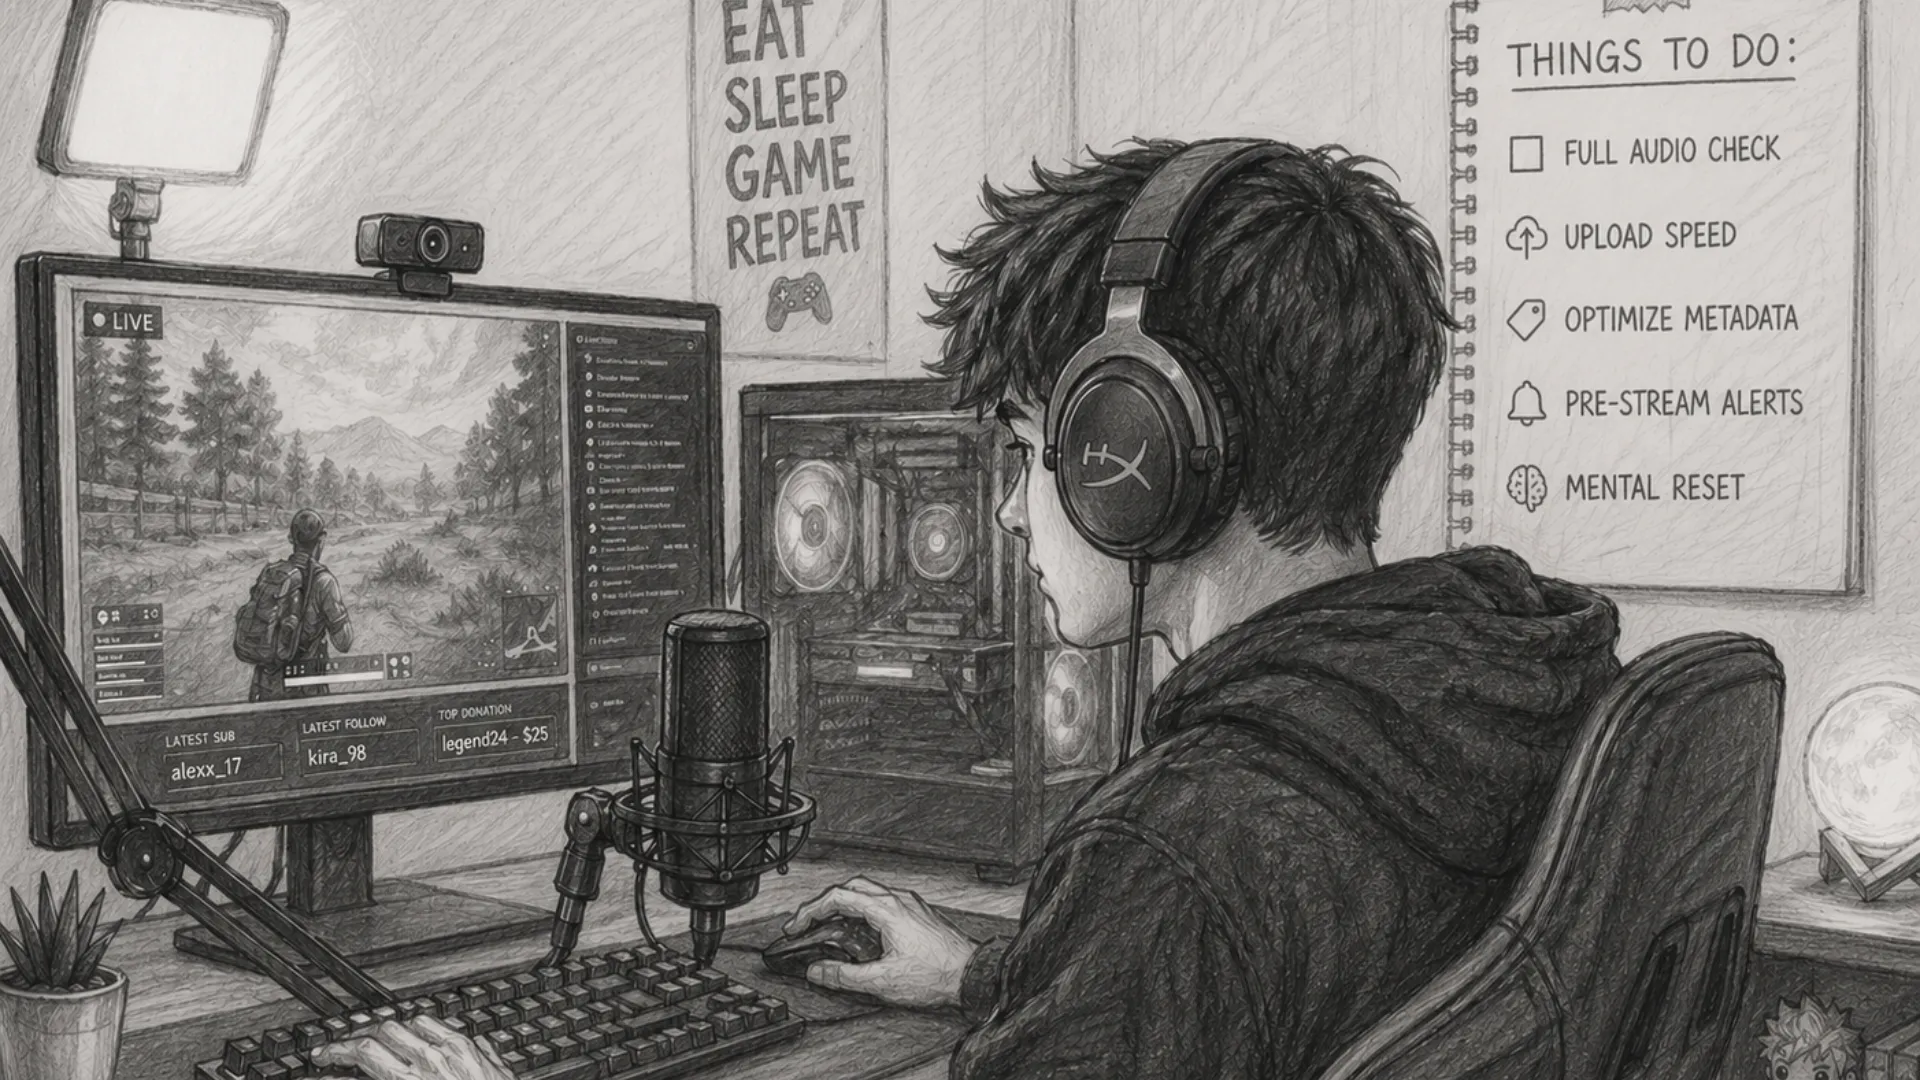
Below is a nine-point pre-stream checklist built on what actually works, ordered by the sequence a streamer should follow, not by how obvious each item sounds.
Why Does Pre-Stream Preparation Actually Matter?
Before going through the list, understand the stakes:
- Platform algorithms reward early retention. Twitch and YouTube both surface live content based on how many viewers stick around past the first few minutes.
- You cannot fix audio mid-stream without breaking immersion. Bad audio is the number one reason viewers leave and do not come back.
- First impressions compound over time. A new viewer who joins during a broken stream rarely returns, even if your next 10 streams are flawless.
- VOD quality depends on what you do before the stream, not during it. Clipping, highlights, and repurposed content all inherit your live stream's technical quality.
The 9-Step Pre-Stream Checklist (In the Order You Should Actually Do Them)
1. 🎙️ Run a Full Audio Check, Not Just a Mic Check
Most streamers do a quick "can you hear me?" That is not an audio check.
A complete pre-stream audio test means verifying:
| Audio Element | What to Check | Acceptable Range |
|---|---|---|
| Microphone input level | Speaking volume peaks | -12 dB to -6 dB |
| Background noise floor | Silence reading | Below -50 dB |
| Game/desktop audio | Sound FX and music mix | -20 dB to -15 dB |
| Alert sounds | Follower/sub notification volume | Balanced with mic |
| Music if applicable | Background track level | 20-30% of mic volume |
How to actually do this:
- Open your audio mixer in OBS Studio, Streamlabs, or your streaming software.
- Speak at your natural live stream volume and watch the meter. It should peak in the yellow, not the red.
- Mute yourself and watch the noise floor. If it sits above -40 dB, you have hum, fan noise, or electrical interference to fix.
- Play a game sound effect or video. Check that it does not drown out speech.
- Trigger one test alert (most platforms and tools let you do this without going live).
If you stream with a USB microphone, plug it in at least 10 minutes before your pre-stream check. USB audio devices sometimes require initialization time to stabilize their input signal.
💡 Pro Tip
Use a free tool like VoiceMeeter Banana on Windows or Loopback on Mac to visually monitor all audio channels simultaneously. It takes five minutes to set up and saves streams.
2. 📸 Verify Your Camera Feed, Framing, and Lighting
Camera setup is not just about whether the image is on. It is about whether the image is correct.
Framing checklist:
- Is your face centered in the frame with appropriate headroom? (One-third rule: your eyes should sit roughly at the upper third of the frame.)
- Is there anything distracting or unprofessional visible behind you?
- Is the camera tilted? (Use a virtual level or just hold a straight edge to the screen.)
Lighting checklist:
- Is your key light in front of you, not behind? A window behind you creates a silhouette.
- Are there conflicting color temperatures? Mixed warm and cool light sources make skin tones look strange.
- Is the auto-exposure flickering? If you have a window in frame, lock manual exposure in your camera software.
Recommended camera output settings for streaming:
| Platform | Resolution | Frame Rate | Bitrate |
|---|---|---|---|
| Twitch (standard) | 1080p | 60fps | 6,000 Kbps |
| YouTube Live | 1080p | 30/60fps | 4,500-9,000 Kbps |
| Facebook Live | 720p-1080p | 30fps | 4,000 Kbps |
| TikTok Live | 720p | 30fps | 2,000-4,000 Kbps |
💡 Pro Tip
If you are streaming via a browser-based studio (like Yostream), your scene and camera preview is visible before you go live. Use that preview window actively, not as a formality. Check that your cam source is rendering at the correct resolution and that no source is cropped accidentally.
3. 🌐 Test Your Upload Speed and Network Stability, Not Just Speed
"I have 100 Mbps internet" does not mean your stream will not drop frames. Speed is not stability.
What actually matters:
- Upload speed: Your stream bitrate should not exceed 70-80% of your sustained upload speed. If you stream at 6,000 Kbps (6 Mbps), you need at least 8-10 Mbps of stable upload.
- Packet loss: Even 1% packet loss will cause stream freezes. Speed tests do not always catch this.
- Jitter: High jitter (variation in packet delivery time) causes the encoder to buffer and drop frames.
Tools to use:
- Speedtest.net for basic upload speed.
- PingPlotter (free version) to run a 2-minute trace to Twitch or YouTube's ingest servers.
- OBS built-in stats (View > Stats) shows dropped frames in real time. Run this 5 minutes before going live as a "silent test."
Always stream over wired ethernet if possible. A single Wi-Fi interference spike during a stream can cause a 10-second freeze that triggers the platform's "stream is unstable" warning to viewers. That warning alone causes significant viewer drop-off.
4. 🎮 Configure and Preview All Your Scenes Before the Stream Starts
If you are switching scenes during a live stream, every scene transition should be pre-tested.
Scene check routine:
- Click through every scene in OBS or your streaming software. Confirm sources are active, not showing "source not found" errors.
- Check that browser sources (alerts, overlays, stream labels) have loaded. Browser sources sometimes need 30-60 seconds to connect to their APIs.
- Test your transition effect (cut, fade, stinger). A broken stinger transition that hangs mid-stream looks deeply unprofessional.
- If you use a BRB screen or Starting Soon screen, confirm it displays the correct countdown or loop.
5. 🏷️ Optimize Your Stream Metadata: Title, Category, Tags, and Description
This is the first item where the majority of streamers cut corners, and it directly impacts how the platform's algorithm surfaces your content.
Platform-specific metadata checklist:
| Element | Twitch | YouTube Live | Facebook Live |
|---|---|---|---|
| Title | 140 char max, keyword-rich | 100 char max, searchable | 255 char max |
| Category/Game | Required for discoverability | Tags + category | Topic tags |
| Tags | Up to 10 relevant tags | 15 tags limit | N/A |
| Description | Optional but recommended | Required for SEO | Recommended |
| Thumbnail | N/A (auto) | Custom thumbnail set in advance | Custom |
Title writing principles that actually work:
- Lead with the game/topic name. "Elden Ring -- First Playthrough No Summons" outperforms "Let's Play #42."
- Include an emotional or situational hook. "Completing Hollow Knight Blindfolded" creates curiosity.
- For YouTube Live specifically, treat the title like a YouTube video title, because it will become one when the stream ends.
On YouTube Live, if you do not set a custom thumbnail before going live, YouTube auto-selects one from your stream preview. The auto-selected frame is almost never the best frame. Set it manually in YouTube Studio before you start.
6. 🔴 Do a 60-Second Private Test Stream (The One Step 90% of Streamers Skip)
This is the single highest-impact item on this checklist, and almost no one does it.
A private test stream means actually pushing your encoder signal to the platform's ingest server for 60 seconds before going public. This is fundamentally different from checking a preview window.
Why it matters:
- Your preview in OBS or any streaming tool shows what your encoder is producing. A private test stream shows what the platform actually receives and delivers to viewers.
- Platform-side encoding issues, ingest server latency, and transcoding errors only appear once you are actually streaming to the server.
- Audio sync drift is sometimes introduced by the platform's encoding pipeline. You will never catch this in a local preview.
How to do a private test stream:
On Twitch:
- Go to your Dashboard.
- In Stream Manager, click "Edit Stream Info" and do not set it live yet.
- Start your stream in OBS with your normal stream key.
- Open your channel in a second browser tab while logged in (Twitch shows your own stream even when offline to others during a brief window, or use the Twitch Inspector tool).
On YouTube Live:
- In YouTube Studio, create a scheduled stream or use the instant stream option.
- Set visibility to "Unlisted."
- Start encoding. Watch the stream on the unlisted link for 60 seconds.
- Stop, check: audio sync, video quality, alert visibility, overlay rendering.
- Change visibility to "Public" when you are ready to go live.
7. 🔔 Activate Your Notifications and Pre-Stream Alerts
Going live without telling your audience is like opening a restaurant without flipping the sign.
Notification checklist by platform:
- Twitch: Enable push notifications for followers. Check your channel's notification settings in Creator Dashboard. Subscribers are auto-notified; followers must opt in.
- YouTube: The "Upload" notification bell only pings subscribed viewers who have the bell icon active. Post a Community tab update 15-20 minutes before going live to catch those who do not.
- Facebook: Facebook Live sends notifications to followers. Scheduling a Live in advance and letting people set reminders significantly increases peak concurrent viewership.
- TikTok Live: Your followers receive a push notification the moment you go live. There is no scheduling tool, so consistent timing matters more than any individual notification.
Social cross-promotion: Before pressing Go Live, post a "Going live in X minutes" to your Twitter/X, Instagram Stories, or Discord server. Even one post 10-15 minutes before the stream measurably increases early viewer count, which boosts algorithm placement.
You Should Know:
Discord has a direct "Scheduled Events" feature. If your community uses Discord, creating a scheduled stream event creates its own notification system entirely separate from the platform.
8. ⚖️ Check Your Content Compliance: Music, Overlays, and Copyright
This step is systematically skipped until someone gets a strike, and then it becomes their entire personality.
Pre-stream compliance checklist:
- Background music: Are you using royalty-free music, a licensed streaming music service (Epidemic Sound, StreamBeats, Pretzel Rocks), or music with appropriate streaming licenses? Playing a Spotify or Apple Music playlist directly into your stream is a DMCA violation.
- Game music: Some publishers (including Atlus/Sega for Persona games and some Nintendo titles) have specific in-game music restrictions for streams. Check the publisher's streaming policy if you are playing a new or rights-sensitive title.
- Overlays and graphics: If you downloaded a free overlay pack, confirm the license permits streaming use. Some require attribution.
- Restream and multistream destinations: If you stream to multiple platforms simultaneously, each platform's Terms of Service applies independently. A clip you can legally stream on one platform may violate another's policy.
YouTube's Content ID system can and does mute VOD audio or place ads on your video for music detected during a live stream, even hours after the stream ends. DMCA takedowns on Twitch result in muted VOD clips. Both are avoidable.
9. 🧠 Do a 90-Second Mental and Physical Reset Before Going Live
This sounds soft. It is not. It is behavioral science applied to content performance.
Research on live performance and public speaking consistently shows that physiological arousal (elevated heart rate, shallow breathing) negatively impacts articulation, recall, and perceived confidence. These are measurable audience-facing variables on a live stream.
The 90-second pre-stream reset:
- Stand up and take three slow, deliberate breaths. (This is not meditation. It is physiological regulation.)
- Drink water. Vocal cords perform significantly better when hydrated.
- Read your stream plan or outline for 30 seconds. What is the first thing you will say? What is your hook?
- Check your posture in the camera preview. Slouching reads as low energy even to casual viewers.
- Smile once before you hit Go Live. Research from Amy Cuddy's work on body language and performance shows that brief positive physical expressions affect vocal tone and energy.
What Happens If You Skip Steps? A Realistic Breakdown
| Skipped Step | Most Likely Consequence | Recovery Difficulty |
|---|---|---|
| Audio check | Viewers leave in under 30 seconds | High (stream disruption required) |
| Camera/lighting | Low viewer retention, poor first impression | Low (fixable live but awkward) |
| Network stability test | Dropped frames, stream goes offline | Medium |
| Scene preview | Source errors visible on stream | Low-Medium |
| Metadata optimization | Low discoverability, poor algorithmic placement | None (immediate, no recovery) |
| Private test stream | Audio sync issues, platform encoding problems | Medium-High |
| Notifications | Low early viewer count, weak algorithm signal | None (lost opportunity) |
| DMCA check | VOD muted, potential strike | High |
| Mental reset | Flat energy, slow start, viewer drop-off | Medium |
Frequently Asked Questions About Pre-Stream Prep
1. How long before going live should I start my pre-stream checklist?
Start your technical checks (audio, video, scenes, internet) at least 20-30 minutes before your scheduled go-live time. The notification and metadata steps can happen up to an hour before. The private test stream and mental reset should happen in the final 5-10 minutes.
2. Do I need a pre-stream checklist if I use a browser-based streaming tool?
Yes, but the checklist shortens. Browser-based tools like Yostream handle some of the encoder-side configuration automatically and provide real-time visual previews that desktop apps do not always match. You still need to check audio levels, scene sources, metadata, and notifications regardless of the tool you use.
3. What is the most common technical mistake streamers make right before going live?
Forgetting to unmute the microphone in the streaming software despite it being active in the physical input chain. The microphone works in real life; it is muted in OBS. This is the single most common immediate-fix issue reported by streamers across all experience levels.
4. Can I use a checklist app or tool to manage this more efficiently?
Yes. Some streamers use Notion, Trello, or a physical printed checklist pinned next to their monitor. Others build it into their pre-stream "warmup routine." The format matters less than the consistency. Any system you actually follow beats any system you only follow sometimes.
5. How do I know if my stream looks good to viewers versus how it looks to me?
The only reliable method is watching your own stream from a viewer's perspective. Use a second device (phone, tablet, separate browser) logged into a different account to watch your stream during your private test. This reveals thumbnail appearance, audio quality through a different output, and any encoding artifacts your studio view does not show.
6. Does multistreaming to multiple platforms require separate checklists?
Not separate checklists, but additional items. When streaming to multiple platforms simultaneously, verify:
- That your bitrate suits the lowest-bandwidth destination.
- That your stream title and category are set on each platform individually.
- That you are monitoring chat across all destinations (use an aggregated chat tool).