

In the era of technological evolution, sharing voices and stories for content creators and streamers has become an easily accessible phenomenon. Nowadays, they don’t need expensive gear or technical knowledge to record and host podcasts. Earlier, they used to download resource-intensive software and invest in high-quality podcast equipment to share their voices with the worldwide audience. However, with the arrival of web-based solutions, they can achieve professional results with minimal setup.
Yostream, a browser-based platform for podcasting with guests, also offers multistreaming services with custom branding options. One of the best free platforms to record and stream podcasts without downloads, Yostream is designed to encourage creativity with ease in content creation. This guide will enable podcasters, whether they are experts in the field or complete novices, to launch their podcasts and add guests easily without the hassle of software downloads.
Follow this step-by-step guide to add guests, record and host your podcasts directly from your browser sans software download and installation.
Step 1. Visit Yostream
In your browser, type yostream.io and click Enter.

Step 2. Get Started
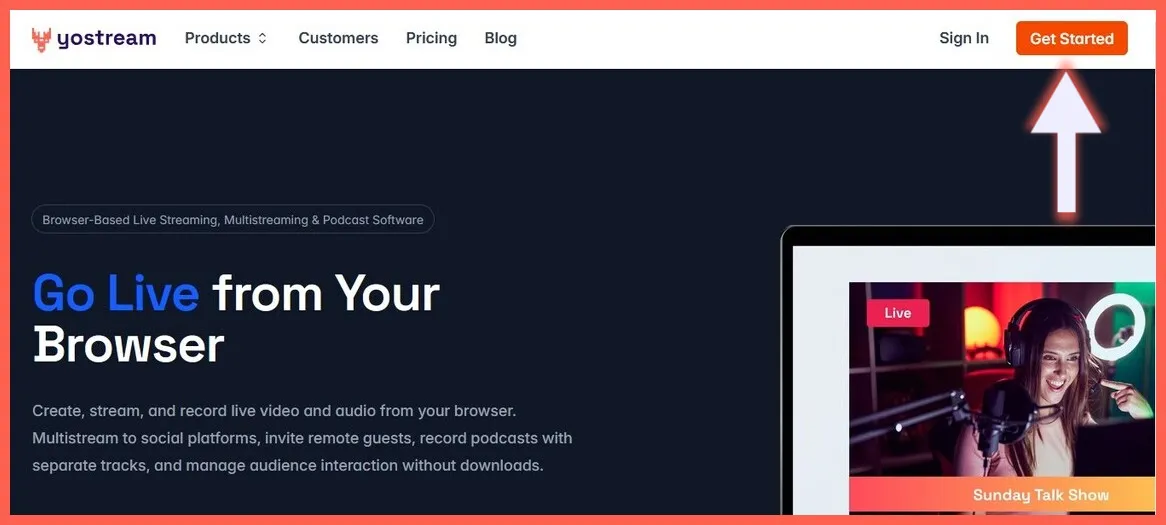
On the top-right corner of Yostream’s homepage, click Get Started.
Step 3. Log In
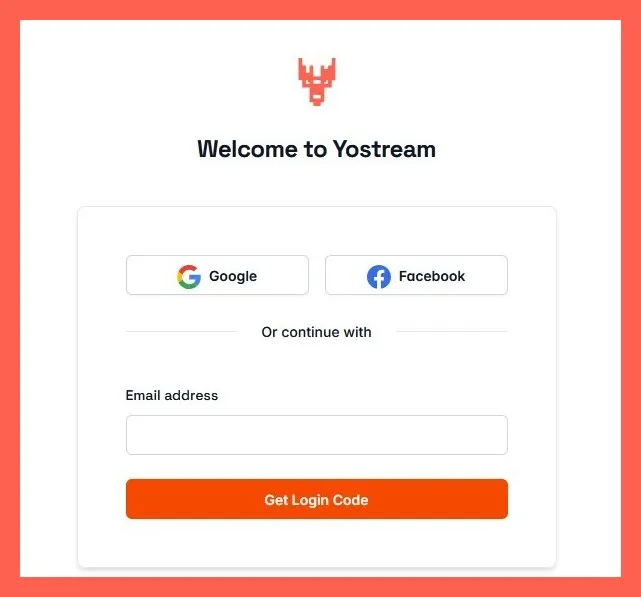
You can continue by connecting your Google or Facebook accounts. Alternatively, you can also use an Email ID to move ahead. In this demonstration, we’ll use an Email ID before clicking Get Login Code at the bottom.
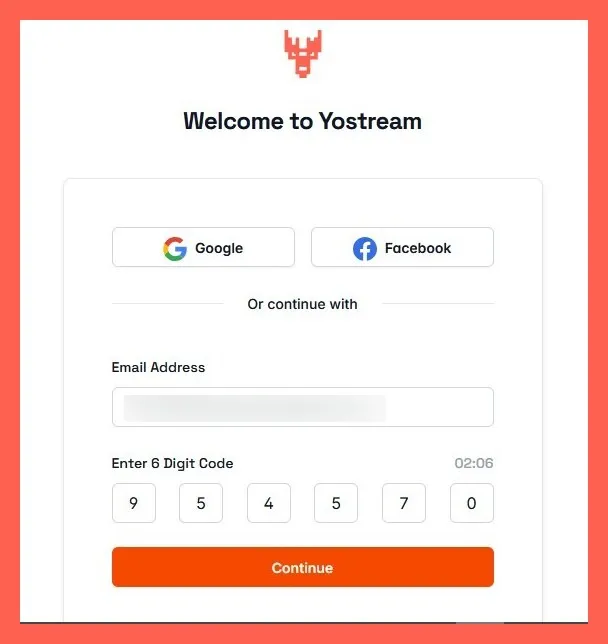
You’ll receive a 6-digit code in your inbox. Enter the code and click Continue.
Step 4. Access the Podcast Studio
Select Podcast Studio in your dashboard.

Step 5. Grant Permissions
You’ll get a pop-up from your browser asking access for camera and microphone. Grant permission.

Step 6. Configure Your Setup
Select your preferred microphone and camera inputs. Then, select either of the options depending on your headphone’s availability. If you’re not using your headphones then selecting the respective option will automatically enable echo cancellation for an effective listening environment.
Provide a username and click Join Room.

Step 7. Add Guests to Your Podcast
Click the Invite Guests button at the top-right corner of your screen.

Copy the link and send it to your guests so that they can join the conversation.

Step 8. Record Podcast Remotely Online
Click the Record button to start recording your podcast.

Once your recording finishes, you can stop it by clicking the End button.

After you stop recording your podcast, you’ll see a pop-up confirming that your podcast has been successfully saved. You can see your recorded files by clicking here.

The ability to record multiple participants separately and save their files is a critical feature that enhances the editing process. This method, commonly referred to as multitrack recording, allows each participant's voice to be captured on distinct tracks. Once the recording session concludes, these individual files can be saved alongside a master conversation file, providing podcasters with greater flexibility and control during post-production.
How to Change the Recording Mode from “Video & Audio” to “Audio”
If you want to record in Audio-only format, navigate to Settings > Recording > Recording Mode. Click the Audio button to change the recording mode.
Why Choose Yostream For Podcasting?

Frequently Asked Questions:
1. How Many Guests Can I Add to My Podcast?
With the Free Plan, you can invite up to 6 on-screen guests. However, with the Basic and Pro Plans, you can add up to 10 and 12 on-screen guests respectively.
2. How Many Hours of Recording is Provided Within the Free Plan?
5 hours of recording is the maximum limit for the users of the Free Plan.
3. What Should I do if I Reach the Maximum recording Limit Using the Free Plan?
You need to clean your storage to make new space for further recordings. In case you want to keep your files, upgrading is the only option available.
4. Can I Multistream My Podcast?
With the Free plan, you can multistream to a maximum of 2 destinations (including Custom RTMP).
5. Can I Record My Podcast at 1080p with the Free Plan?
To record your podcast at 1080p resolution, you need to purchase the Basic or Pro Plans. With the Free plan, you can record only at 720p.
6. Which Plan Do I Need for the Unlimited Streaming of My Podcast?
For unlimited streaming, you need to purchase the Pro Plan. FYI, with the Free Plan, you can stream up to 20 hrs in any given month, and if you’re on the Basic Plan, the number goes up by 50 hrs/month.