
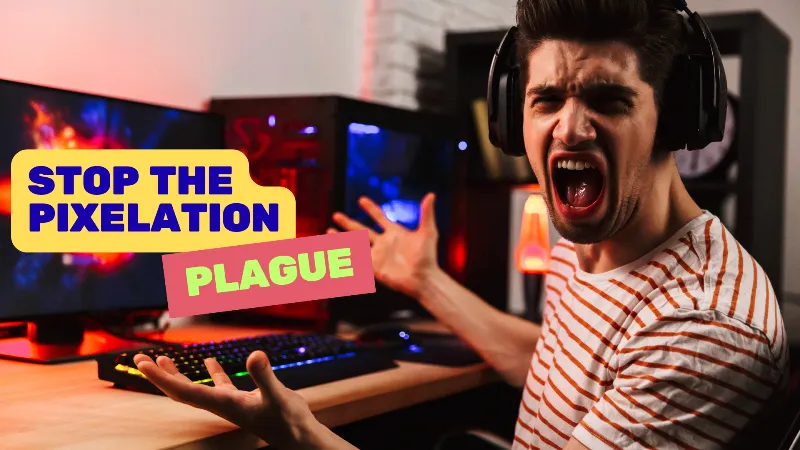
Live streaming is a powerful way to engage with your audience, but nothing ruins the experience faster than a blurry or pixelated broadcast. If your viewers complain about poor video quality, buffering, or blocky visuals, you’re not alone.
In this guide, we’ll explore the top reasons why your live stream looks blurry and provide actionable fixes to improve clarity, ensuring a professional, high-quality broadcast every time.
Why Is My Stream Pixelated When Moving?
If you’re wondering “why is my stream pixelated when moving”, you’re not alone. This is one of the most common live streaming issues.
Pixelation during motion happens because moving scenes require significantly more data to encode. When your bitrate is too low, the encoder compresses the video aggressively, which results in blocky or blurry visuals during fast movement.
How to Fix it
- Increase your bitrate (if your internet allows)
- Lower your resolution (1080p → 720p)
- Reduce FPS (60 → 30 if needed)
- Avoid excessive motion in your scene
Even high-quality setups can struggle with motion if bitrate and encoding settings are not balanced properly.
Common Reasons Your Live Stream Looks Blurry or Pixelated
1. Low Bitrate Settings
Bitrate determines how much data your stream transmits per second. A low bitrate forces compression, leading to pixelation, especially in fast-moving scenes.
✅ Fix:
- Use recommended bitrate settings for your resolution:
- 720p @ 30fps: 2,500–4,000 Kbps
- 1080p @ 30fps: 4,000–6,000 Kbps
- 1080p @ 60fps: 6,000–9,000 Kbps
- Adjust based on your platform’s guidelines (Twitch, YouTube, Facebook).
2. Unstable Internet Connection
Even with high bitrates, an unstable upload speed causes buffering and quality drops.
✅ Fix:
- Use a wired Ethernet connection (Wi-Fi is less reliable).
- Run a speed test (aim for at least double your bitrate upload speed).
- Close bandwidth-heavy apps (Zoom, downloads, cloud backups).
3. Incorrect Encoder Settings
Using the wrong encoder (x264 vs. NVENC) or preset (faster = lower quality) can degrade stream quality.
✅ Fix:
- For CPU encoding (x264): Use the "medium" or "slow" preset if your PC can handle it.
- For GPU encoding (NVENC/AMD): Enable "Quality" mode in OBS or Streamlabs.
4. Poor Lighting & Camera Setup
A dark or grainy camera feed forces the encoder to work harder, increasing pixelation.
✅ Fix:
- Use soft, diffused lighting to reduce noise.
- Set your camera to manual focus and proper exposure.
- Upgrade to a 1080p or 4K webcam (e.g., Logitech Brio, Sony A6400).
5. Resolution & FPS Mismatch
Streaming at 1080p60 on a weak PC or slow internet leads to skipped frames and blurriness.
✅ Fix:
- If struggling with performance, downscale to 720p60 for smoother quality.
- Match your canvas resolution and output resolution in OBS.
6. Platform Compression
YouTube, Twitch, and Facebook re-encode streams, sometimes reducing quality.
✅ Fix:
- Stream at a higher bitrate (within platform limits).
- Use VP9 (YouTube) or AV1 (Twitch) if available for better compression.
Advanced Tips for Crystal-Clear Live Streams
1. Use a Better Encoder
- NVIDIA NVENC (RTX GPUs): Best for high-quality, low-latency streams.
- Intel Quick Sync (for lower-end PCs): Efficient encoding with minimal lag.
2. Enable Two-Pass Encoding
(For advanced users) Improves motion clarity by analyzing frames twice.
3. Reduce Motion in Your Scene
- Avoid fast camera movements (increases compression artifacts).
- Use a static background if possible.
4. Monitor Stream Health
- Check OBS Stats for dropped frames.
- Use Restream.io’s Analyzer to detect quality issues.
Twitch Stream Pixelated When Moving? Here’s Why
A Twitch stream pixelated when moving is a well-known limitation caused by bitrate caps and compression.
Platforms like Twitch limit bitrate (typically around 6000 Kbps), which is often not enough for high-motion content like gaming. When everything on screen moves, the encoder cannot maintain detail, leading to visible pixelation.
What You Can Do
- Lower your resolution to 720p60 for better clarity
- Use efficient encoders like NVENC or AV1 (if available)
- Reduce in-game graphics detail slightly
- Avoid unnecessary overlays or animations
A pixelated live stream usually comes down to bitrate, internet stability, encoder settings, or lighting. By optimizing these factors, you can deliver sharp, professional-quality streams that keep viewers engaged.
🔹 Quick Checklist for Better Quality:
✔ Test your upload speed (use Speedtest.net).
✔ Set the correct bitrate for your resolution.
✔ Use hardware encoding (NVENC/Quick Sync) if available.
✔ Improve lighting and camera settings.
✔ Monitor performance with OBS logs.
By following these steps, you’ll eliminate blurry streams and provide a smoother, more enjoyable viewing experience for your audience.
Readers Also Explored
- Stream like a pro: Optimizing Streaming Quality: Techniques And Best Practices
- Boost YouTube Gaming stream quality with expert tips: 20 Tips to Improve YouTube Gaming Streaming Quality
- A step-by-step guide to reduce OBS GPU usage: Reduce GPU Usage in OBS Without Affecting Video Quality